

Are you looking for nail care? see our correct steps for nail care, as well as tips and taboos for nail care.
Some people say that the hand is the woman’s second face, so many sisters will work hard on nail care and styling. With the prevalence of the nail industry in the market, the awareness of armor is also rising. The following sections organize the correct steps for nail care, as well as tips and taboos for nail care.
8 correct steps for nail care
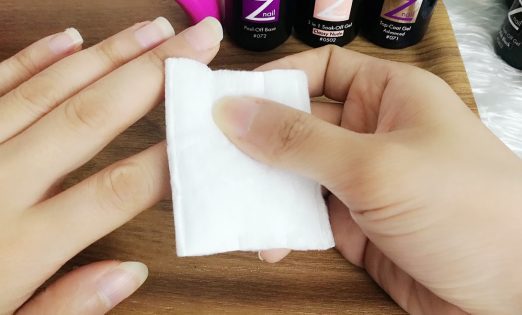
Step 1. Light Pressure To Be Softened
First, wet the cotton or cotton pad with nail polish, then cover the nails to remove the nail polish, gently press and wait for the nail polish to soften the nail polish. After about 3~5 minutes, slowly wipe with a cotton pad. clean.

Step 2. Carefully Wipe Clean
Apply cotton or cotton pads to the nail polish and carefully wipe to remove the clear nail polish. The movement of the nail polish should be gentle and ensure that the small corners of the nail edge are cleaned.


Tips: When choosing a nail polish, you should choose a taste that is not pungent, and the nails are smooth after use.
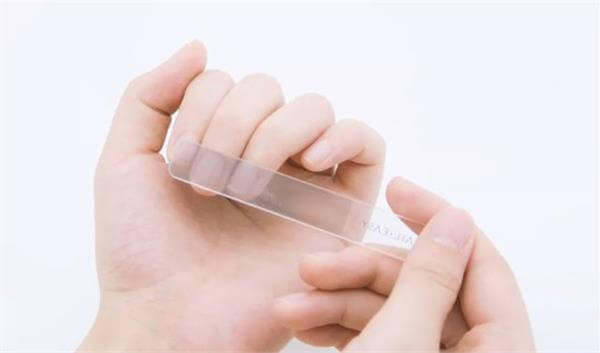
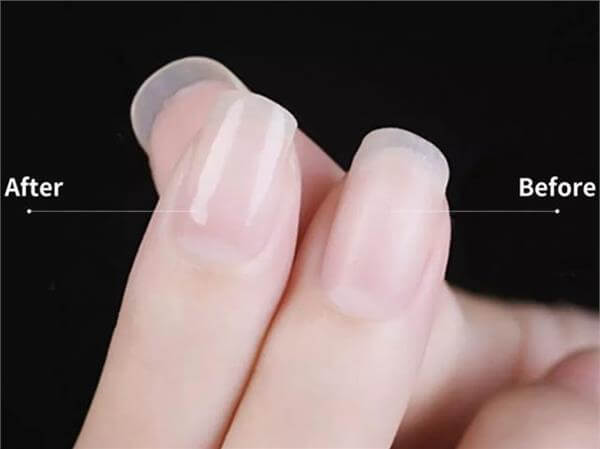
Step 3. Grinding Out The Nail Contour
If the nail is too long, trim the nail to the appropriate length, then use the large rough surface of the nail file to grind the nail to a length of about 3 mm from the finger pad and make the nail oval or square.
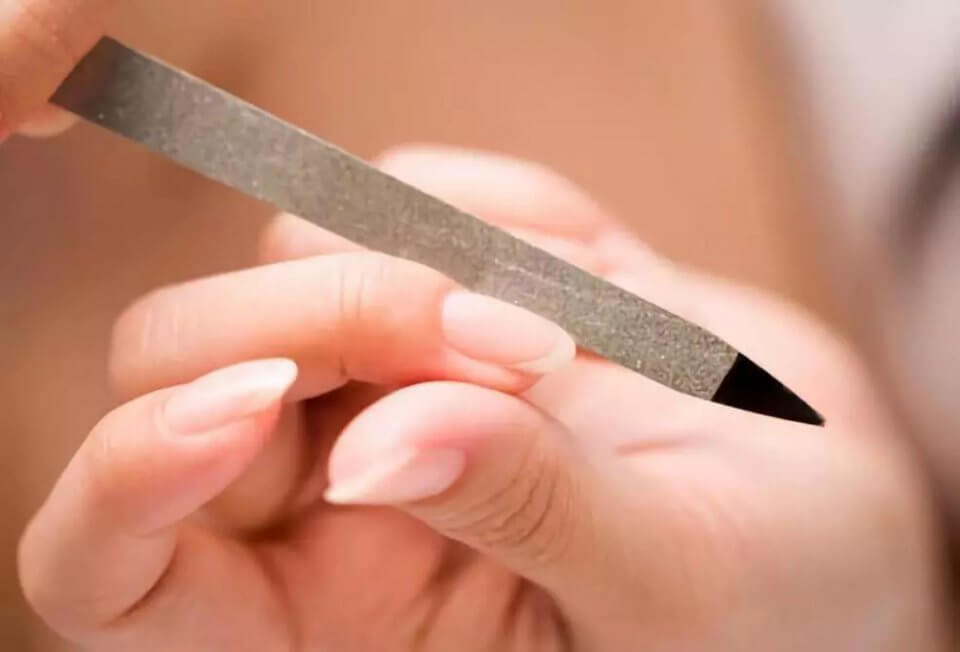

Step 4. Grooming Nails
Use the rough surface of the nails of the nail file to smooth out some small and uneven parts of the nail contour. The movement should be gentle, and the length of the nail should be pinched to avoid getting shorter and shorter!

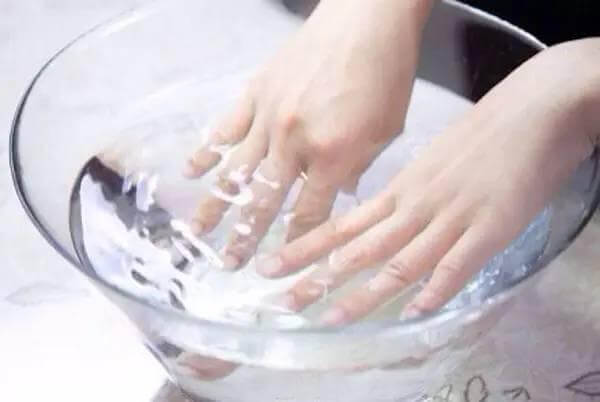
Step 5. Soak Your Hands In Warm Water
After the nails are finished, soak your hands in warm soapy water and wait a few minutes. After soaking in warm soapy water for a period of time, the skin tissue around the nails becomes soft, making it easy to remove the dead skin at the corners.
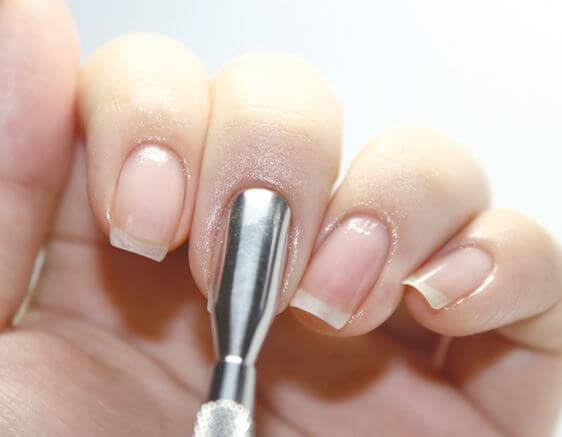
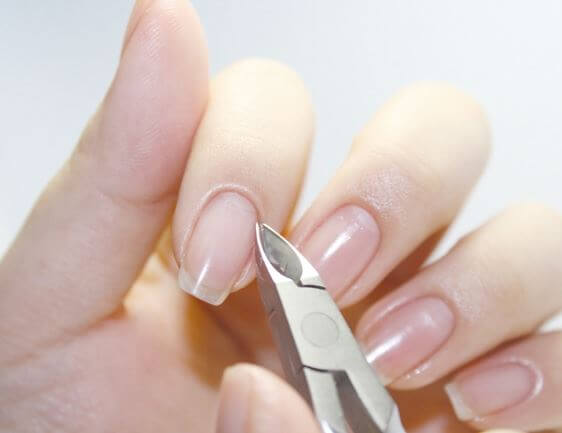
Step 6. After Softening To Peel The Skin
Apply the softener to your fingers. After the dead skin softens, use the dead skin to push the nails and the joints of the meat to gently push the dead skin. Then use the dead skin scissors to cut off the dead skin. Use tools carefully. In order to avoid injury.
Source From
Source From
Source From


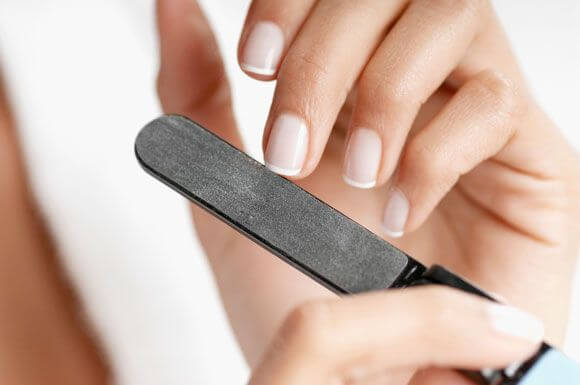
Step 7. Nail Polishing
Use a polished nail for the nail to gently rub off the darker cuticles on the nail surface. Do not rub too much when slipping, and polish the nails to a smooth degree.
Source From


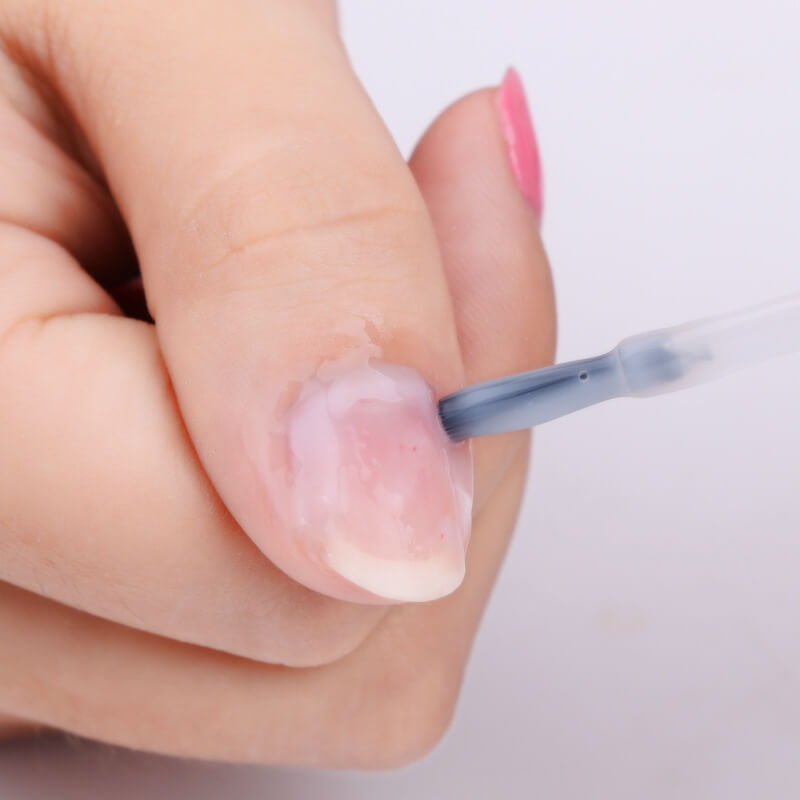
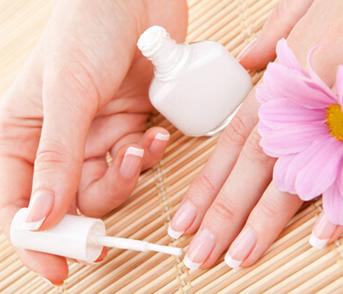
Step 8. Nail Care oil
Use cotton to apply nail care oil, or a nail polish-like maintenance type nail polish on the market, gently wipe the surface of the nail, and the skin care oil will provide nutrients to the nail while removing dead skin cells.
Source From
Nail Maintenance Advice and Taboos
- Do not use nail products containing toluene or formaldehyde.
- Do not let your nails soak in water (especially soapy water or washing powder) for too long, and become fragile when your nails are saturated with water.
- Do not hit the keyboard with your nails.
- Do not bite or remove the thorns on the nails, it is best to cut them with a nail clipper.
- Do not use unsterilized instruments to repair nails, because sharing nail repair tools with others can also infect germs.
- Do not neglect the inflammation of the epidermis around the nail or nail. If it is inflamed, it should be taken immediately.
8 steps to care for nails and 6 contraindications, hope to help you maintain your nails.
If you have any questions, you should leave a message at the message below.